|
|
We help you make beautiful greetings cards | ||
| | Free Projects | Contact Us | | |||
|
|
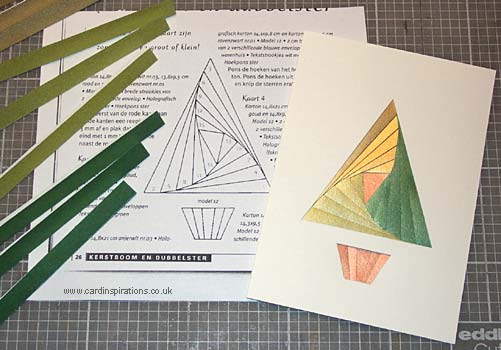
Home - Techniques - Iris folding An introduction to iris foldingA simple paper folding technique is combined with aperture cards to give stunning results. Square, round or die cut apertures are decorated with folded strips of different coloured papers arranged in a spiral.
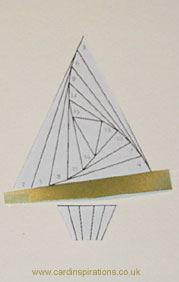
The Iris folding pattern used in this demonstration is from the book Iris Folding for Christmas by Maruscha Gaasenbeek and Tine Beauveser and used by kind permission of the publishers Forte Uitgevers. MethodIn this demonstration we are using an Iris folding card fronts Christmas Tree Straight Edge. This card that has a die cut aperture. The card fronts come in packs of 5 cards and tie in with the patterns in the book. They are single sheets and when the design is complete the card is mounted on the front of a greetings card of your choice. The design is placed on a layout pattern showing the position of the folded strips of paper. Select three different coloured or patterned papers that harmonise together. Cut your paper into strips 20 mm wide. Fold each strip in half along its length with the patterned side out. It is easier to fold if you score the paper along the fold line first. The back end of a craft knife and a ruler can be used for this. Lay your Iris folding pattern on your work surface. Lay your aperture card over the pattern with the wrong side facing towards you. Fix it to your pattern with tape.
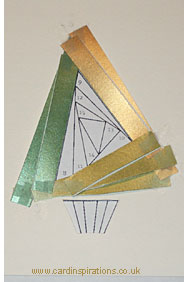
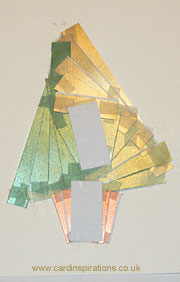
Take a folded strip of patterned paper and place it on section 1 of the pattern. The folded edge should be against the line of the pattern. Trim each end of the strip so that about 5 mm overlap the edge of the aperture at either end. Fix the strip to the card with small pieces of adhesive tape at each end. Select a strip of another colour and fix this in position 2. Add a third coloured strip in position 3. Work around the pattern adding the three different strips in sequence until your design is complete. The small hole left in the middle of the design can be covered with a flat piece of paper in a colour of your choice. Mount the finished pattern on the front of your greetings card.
|

| | Privacy | Terms | Links | |
|
E-mail contact form. |